Bumble bee experiments in lockdown
The chaos brought about by the global coronavirus pandemic has not only claimed lives, it has disrupted experiments in labs across the world. Many folks have been forced to scrap entire experiments, field seasons, and I’m sure, pursuit of their degree*. This sucks a lot, but it is a necessary step to ensure we reduce COVID spread and flatten the curve.
Some scientists can thankfully carry on their pieces of work at home or in back yards, including those of us who study bumble bees. Bumble queens are just emerging across the US - it’s been a joy to watch the tweets of new queens pop up. This is perhaps my favorite part of the year after a long winter full of writing manuscripts and code. Seeing the huge, fluffy queens lumber about after a long winter slumber is such a wonderful sight.
I have received requests for tips on rearing bumble bee queens for at-home experiments, and thought that it may be a good idea to share some tips to rear bumble bees on a budget at home. This post lays out the supplies needed, how to capture and install queens, providing colonies optimal conditions, and some hints that might make troubleshooting issues easier.
Thankfully, ecology/entomology lends itself to MacGyver-ing solutions, and that’s exactly what I’ve been doing to rear bees over the last 5 years.
Gathering supplies
Before you start collecting queens, be sure that you have the adequate supplies, time, and conditions to provide for their needs. Don’t collect and attempt to rear a lot of queens if you don’t plan on using them for something meaningful. If this is your first time, limit your collections to 10 or so to get the hang of the process so that you don’t unnecessarily risk queens.
You’ll need:
Catching queens
- A aerial insect net
- Small aspirator vials (or ball jars, plastic containers) to place caught queens in
Feeding bees
- A source of fresh pollen (health food stores, local bee keeper, Koppert)
- Nectar (either make a sugar solution or purchase commercial - Bee Diet below)
Housing bees
- Rearing chamber/room
- Small queen-starter containers (see instructions below)
- Large colony containers (see instructions below)
- Nectar cups/wicks
- Humidifier (a crockpot can or pan of water work)
- Heater (if your space is below 70F)
- Thermometer/humidistat
It’s nice to have:
- Soft-tipped forceps (for moving bees around)
- Red lightbulbs
- Honey bee wax
- Hot plate
- Old stovetop pot
- Oodles of patience
Building a rearing chamber/room
The purpose of a rearing chamber/room is to maintain the conditions desired by bumble bees that typically nest underground: warm, humid, and dark. It also serves to contain any escapbees. You can pretty easily knock up an incubator (just Google DIY incubator to see some adorable incubators folks have made for baby chickens) using a large styrofoam cooler or pieces of rigid insulation.
You’ll want it to be large enough to house the number of queens you hope to rear and provide adequate space for each queen/colony. Don’t plan to pack queens in there; they’ll likely just agitate each other and never calm down enough to start laying eggs.
We want to get the conditions of the rearing chamber to be warm (~80F) and humid (~60% relative humidity). This will minimize how much energy bees need to incubate the nest and keep pollen provisions moist. To heat the rearing chamber, I would install a reptile heater lamp on the top of the chamber. You may have to play with the distance/bulb output to get the temperature right. As for humidity, you can get away with a solution as simple as putting a pan of water in the base of the chamber. Otherwise, you can use a small crockpot set to warm or use a purpose built humidifier (at the expense of room).
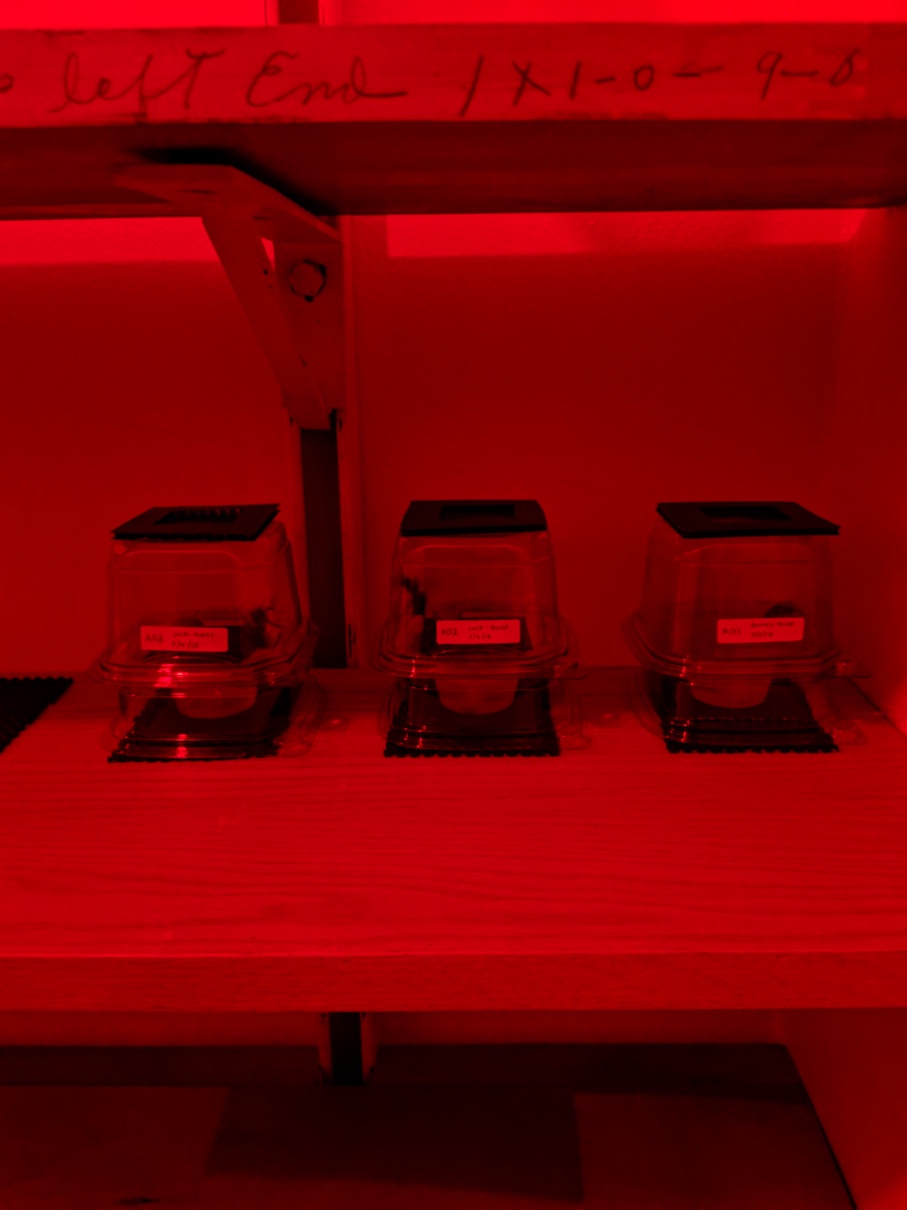
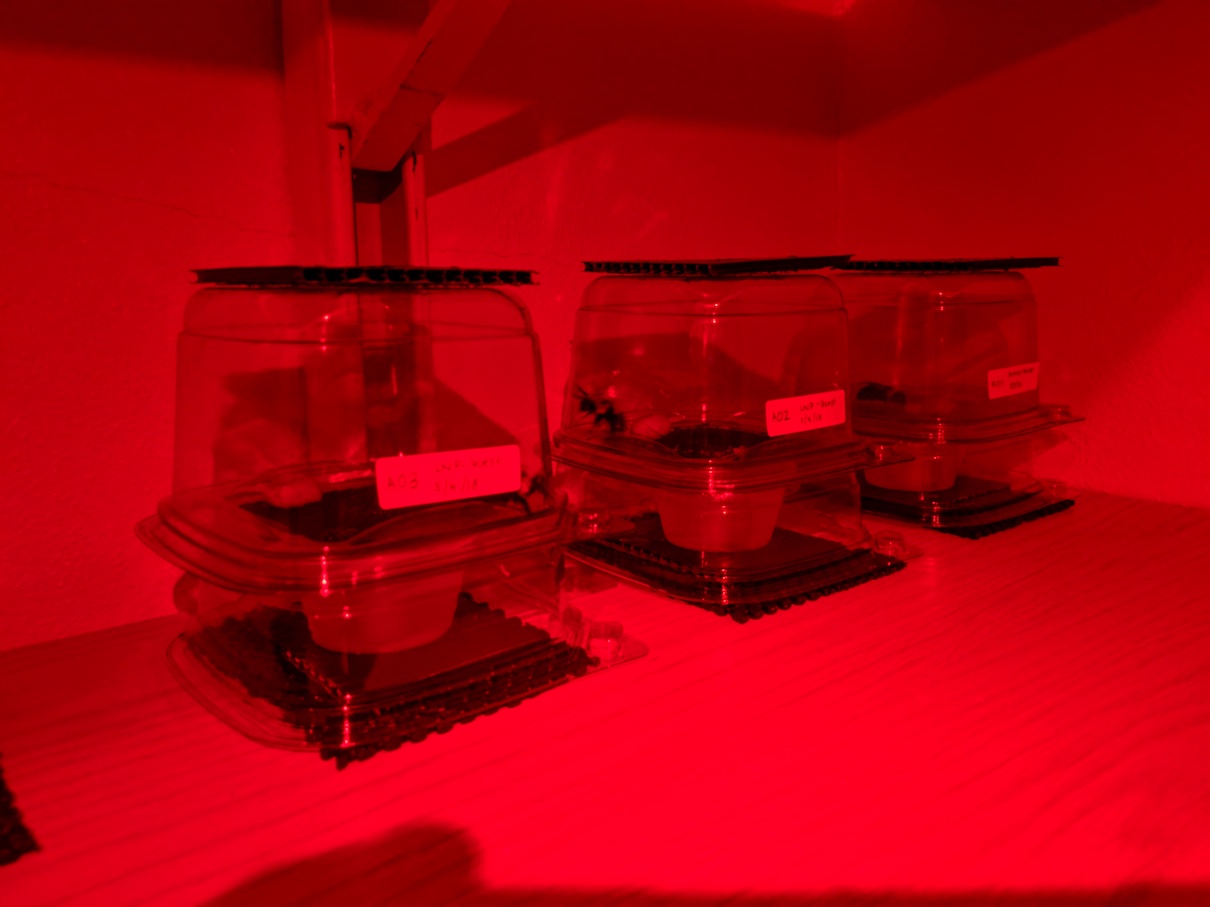
Ideally, light your incubator/room with red light and keep all other sources of light to a minimum. The red light will allow you to see/work with the colonies, but the bees won’t be able to see and are far less likely to fly around.
Build rearing containers
These are perhaps the most important part of the build. You want your containers to be escape-proof, cleanable, observable, and if possible, re-usable.
Queen starters
In my experience, queens tend to take better to smaller containers at first. There are myriad solutions here, but I have used modified plastic deli containers with pretty good success (Fig. 1). These include the brood chamber (A) and a frass chamber (B) that houses the nectar cup/wick and collects poop (obviously not together). The brood chamber simply sits gently atop the nectar/frass chamber which makes replacing nectar/cleaning the frass easy.
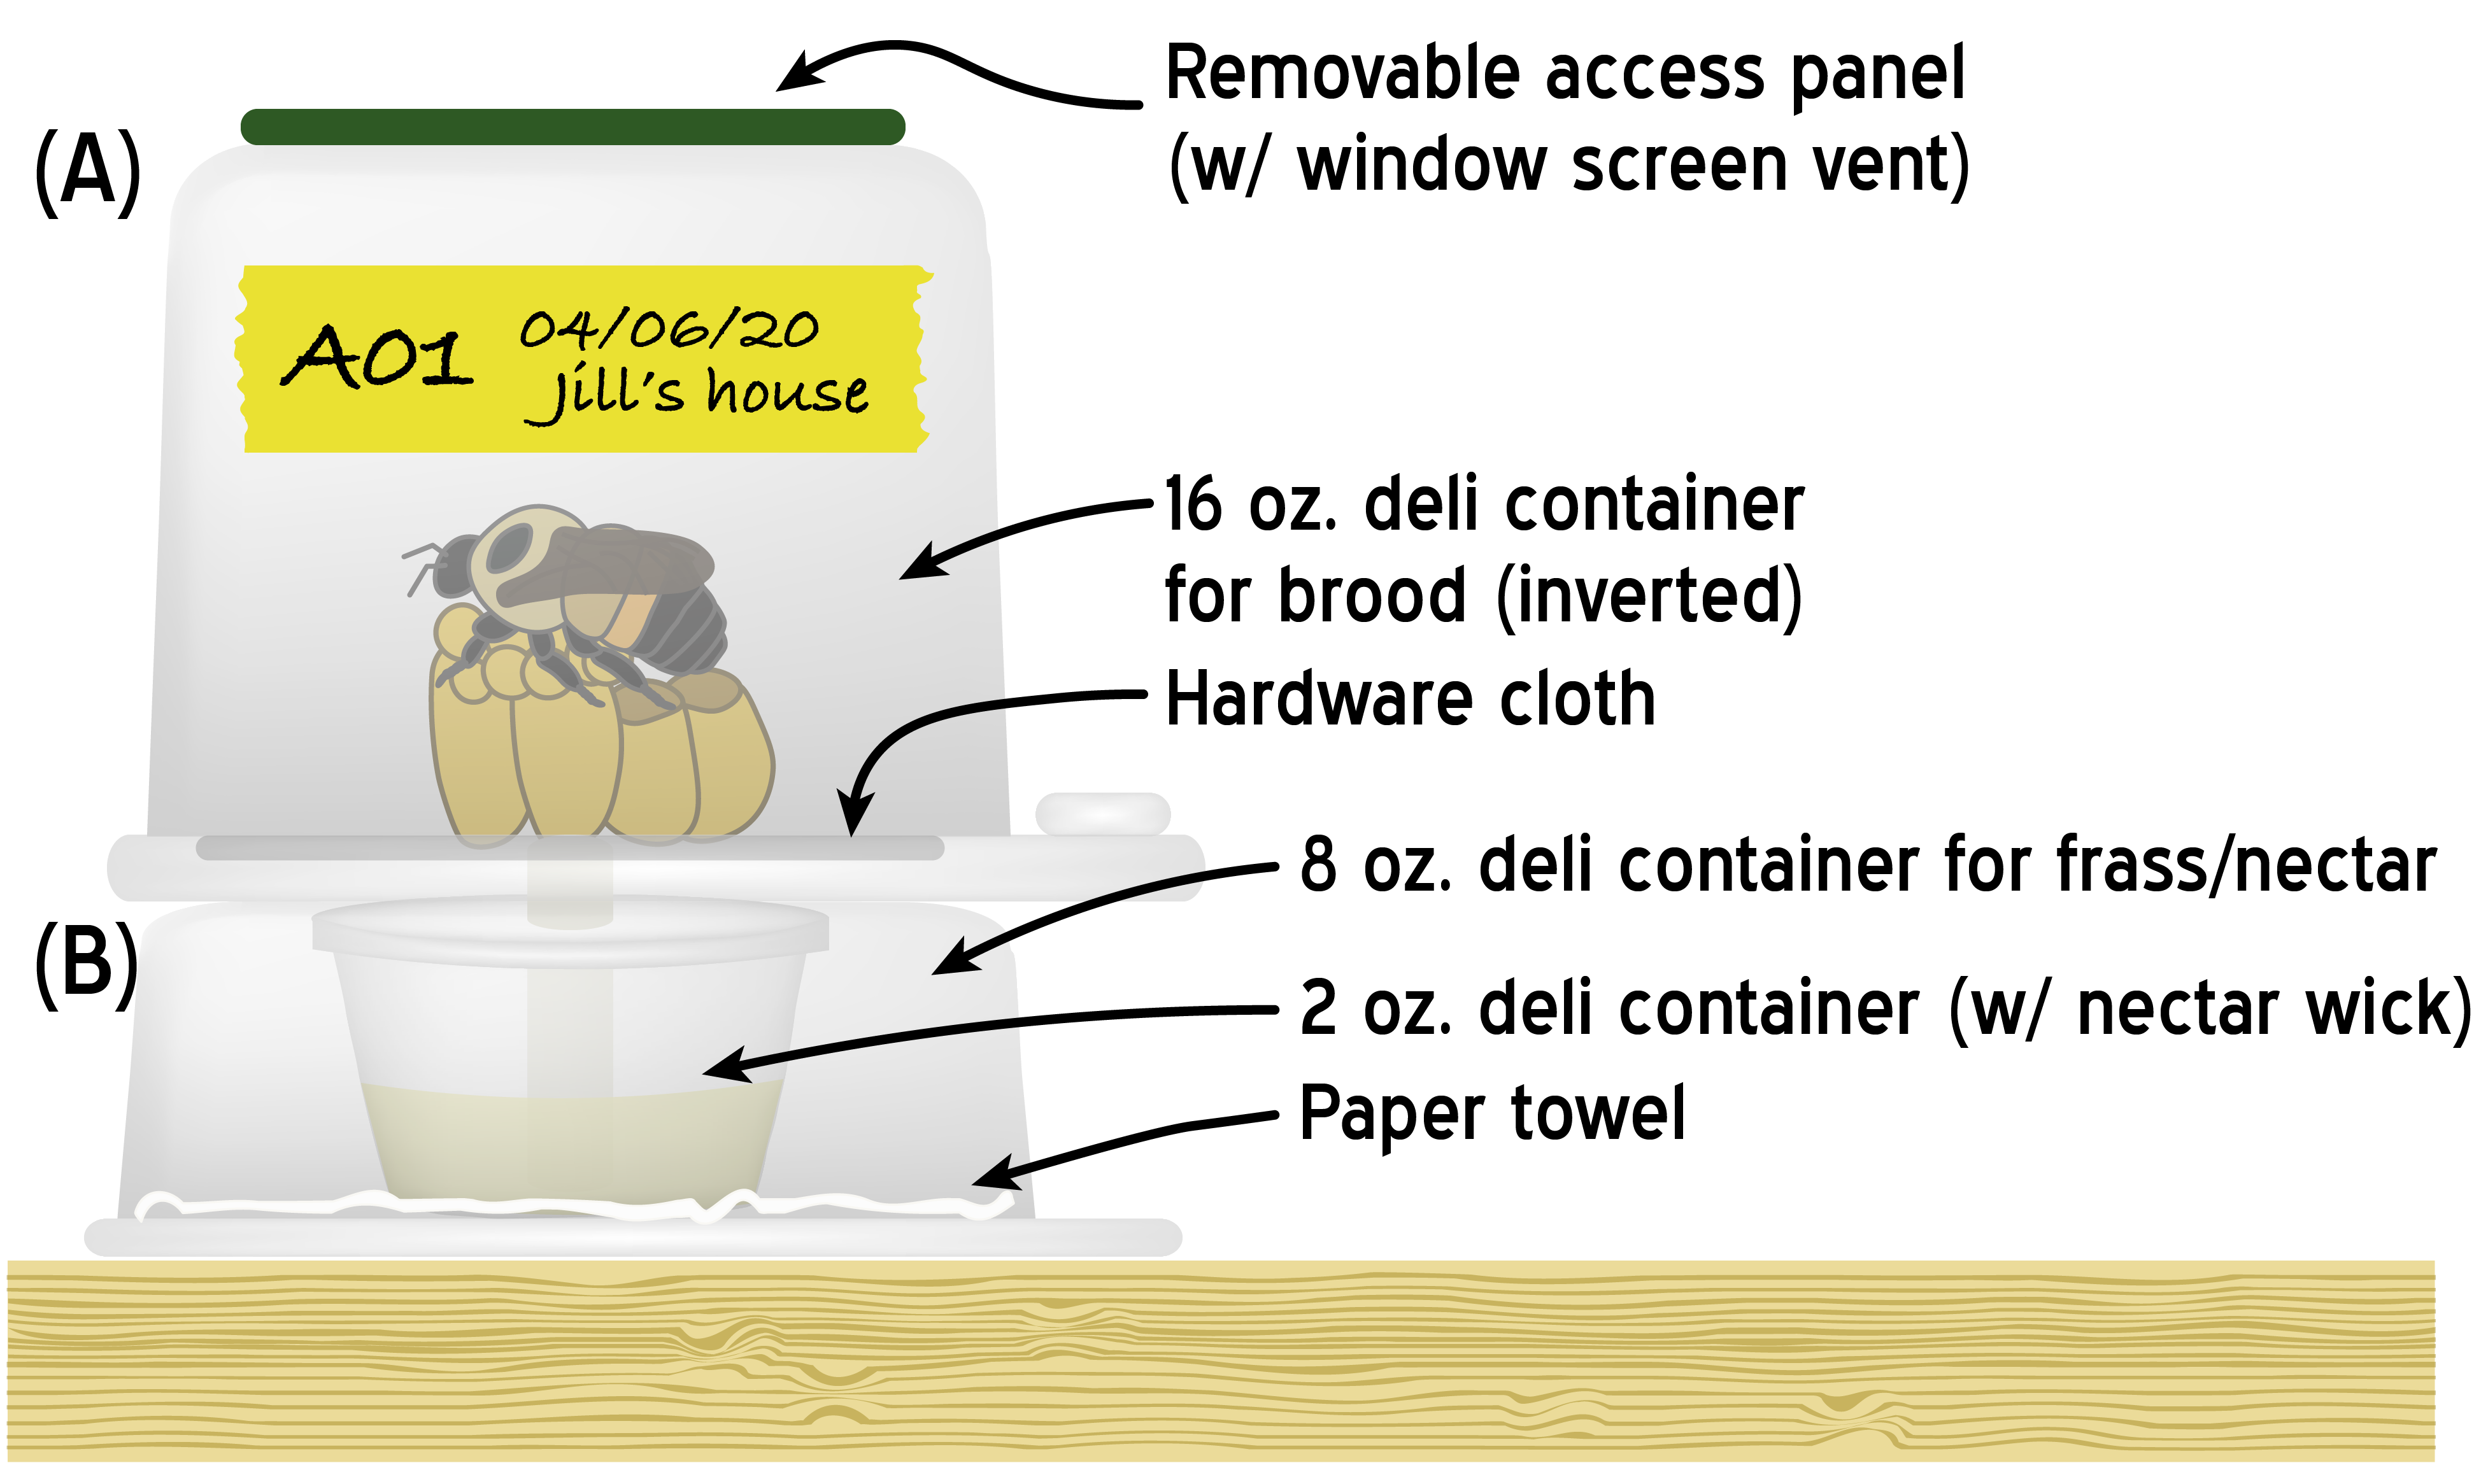
These containers can be cleaned for re-use, but I typically at least throw away the brood chamber base after use (it gets pretty nasty).
Be sure to get 1/8" hardware cloth for the brood chamber base - this lets frass fall through, and you can then cut a single access hole to let the queen get below where she will hopefully use the space as a bathroom (as opposed to the brood chamber above). You can line the bottom of the nectar/frass chamber with paper towel/newspaper so that it can regularly be cleaned.
The nectar cup design is one that I use for everything: queen starters, full colonies, and microcolonies (Fig. 2). They’re super easy to make/clean and along with dental cotton rolls, work really well. Ideally, the total height of your nectar cup (including the dental cotton wick) should be the same height as your nectar chamber so that the wick easily reaches up to the floor of the brood chamber. You can use this same design as a water feeder if you so choose.
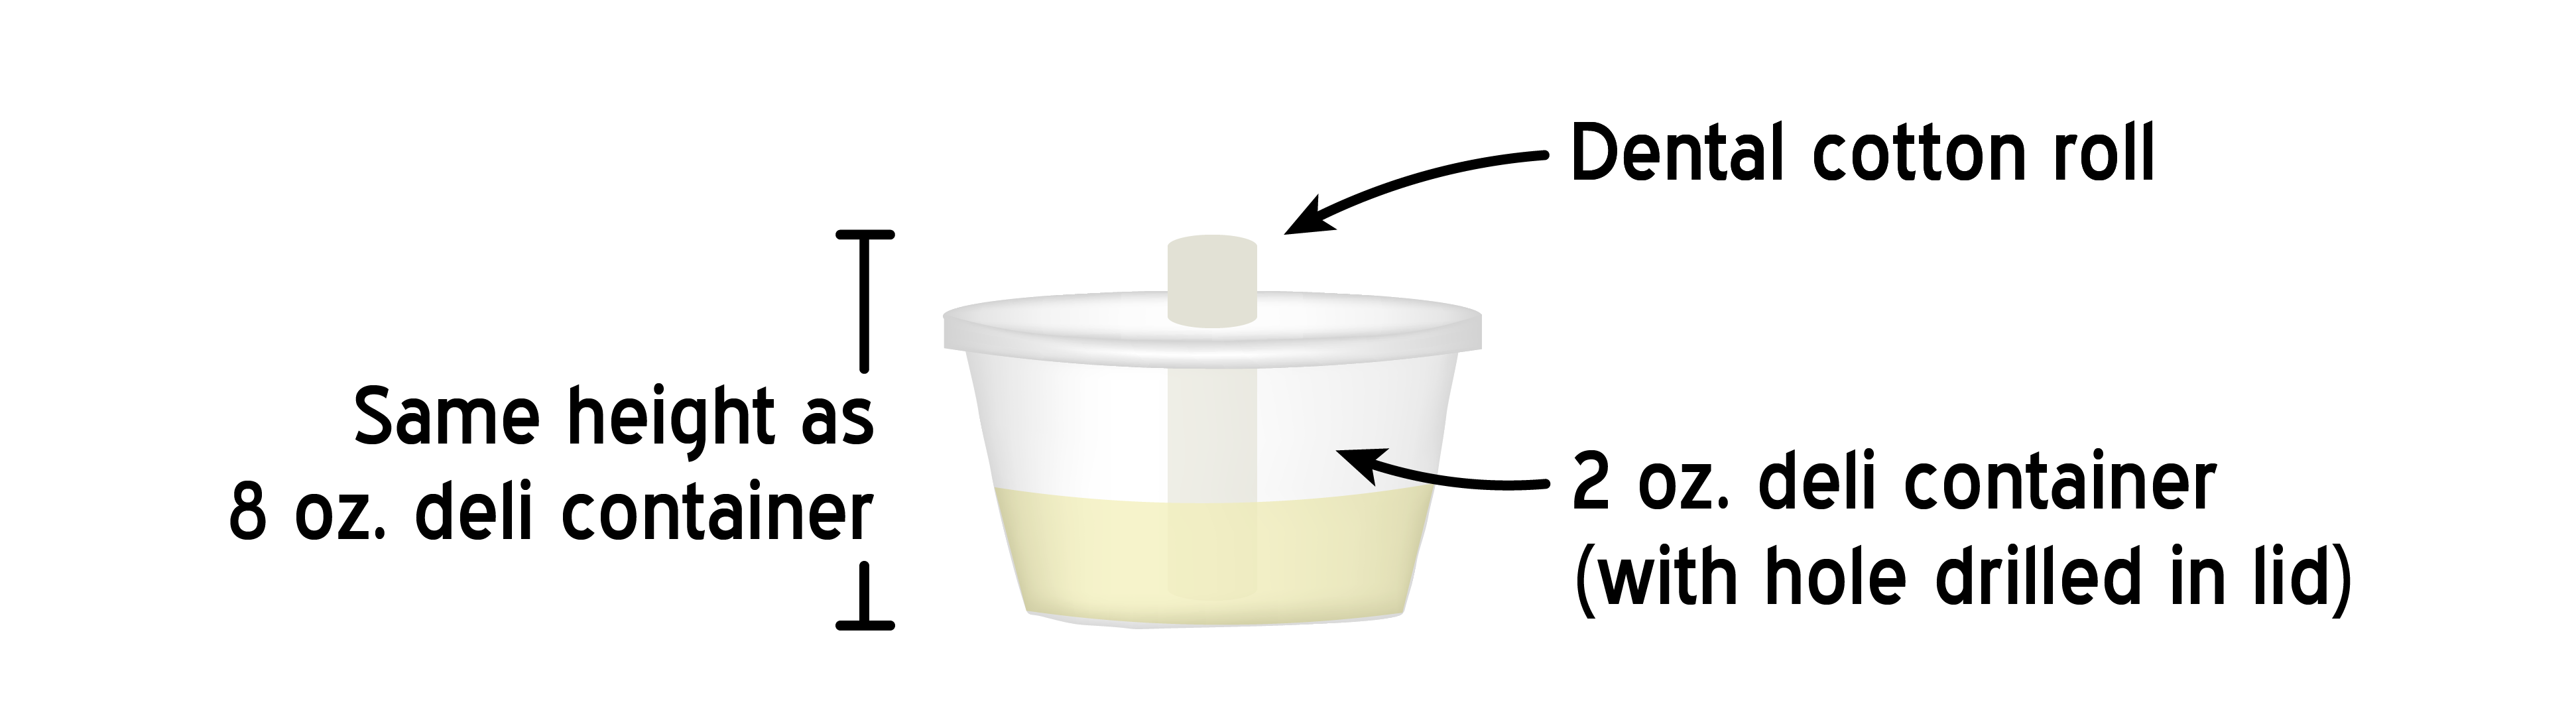
Fig.2: Nectar cup design. Dental cotton rolls are pre-soaked with nectar before use to ensure the wick adequately.
When all is said and done, this is what they look like IRL:

Colony boxes
Once the first co-hort of workers emerges, it’s best to give the bees a housing upgrade into a larger container (Fig. 3). Deli containers can again be a great solution (the cheapest, by far), as well as Tupperware or custom built acrylic containers (most expensive). Overall, it doesn’t really matter provided the new container is: (1) large enough for colonies to grow; (2) has a brood and frass sub-chamber; and (3) is cleanable.
Fig.3: Full colony box subdivided into two chambers, brood and frass, respectively. Be sure that the two containers have the same base dimensions to make things easy.
I would recommend using a large deli container (e.g., these) and again replacing the bottom of the brood chamber with hardware cloth. Then, divide the container 1/3 x 2/3 and use the larger half for your brood chamber (Fig. 3, side view). A piece of cardboard with a large hole cut into it can serve as the divider. Make the other 1/3 where you place paper towel or clean regularly so that you can keep things relatively sanitary.
Once these are all done, they might look something like this:
Overall, the number one rule here is cleanliness. Do your best to keep the chambers as clean as possible and modify your designs in any way that enables you to regularly remove frass/clean the chambers (ideally without disturbing the bees too much). Bees typically go outside to relieve themselves - something that isn’t possible during the initiation of captive colonies. Once your first cohort of workers is out, then you can start letting them forage/poop outside.
Capturing queens
Okey doke - now that you have your starter and colony cages built, it’s time to go out and get some queens!
The best bet for finding early spring bumble bees is going to where the flowers are. Find whatever is blooming (e.g., fruit trees, willows, spring ephemerals) and wait. The greater the density of flowers, the more likely you are to see queens. Once they do arrive, be sure to ID them BEFORE you swing the net**. Only target queens from species known to be stable, such as Bombus impatiens, B. bimaculatus, or B. griseocollis. All three of these usually take well to rearing in captivity.
Once you have netted a queen, carefully transfer her to a small container that has air holes (I find that aspirator vials work very well) with some paper towel (Fig. 4). Install her immediately into a queen starter cage, or place her into a cooler with an ice pack to slow her down and prevent her from burning up all of her nectar reserves.
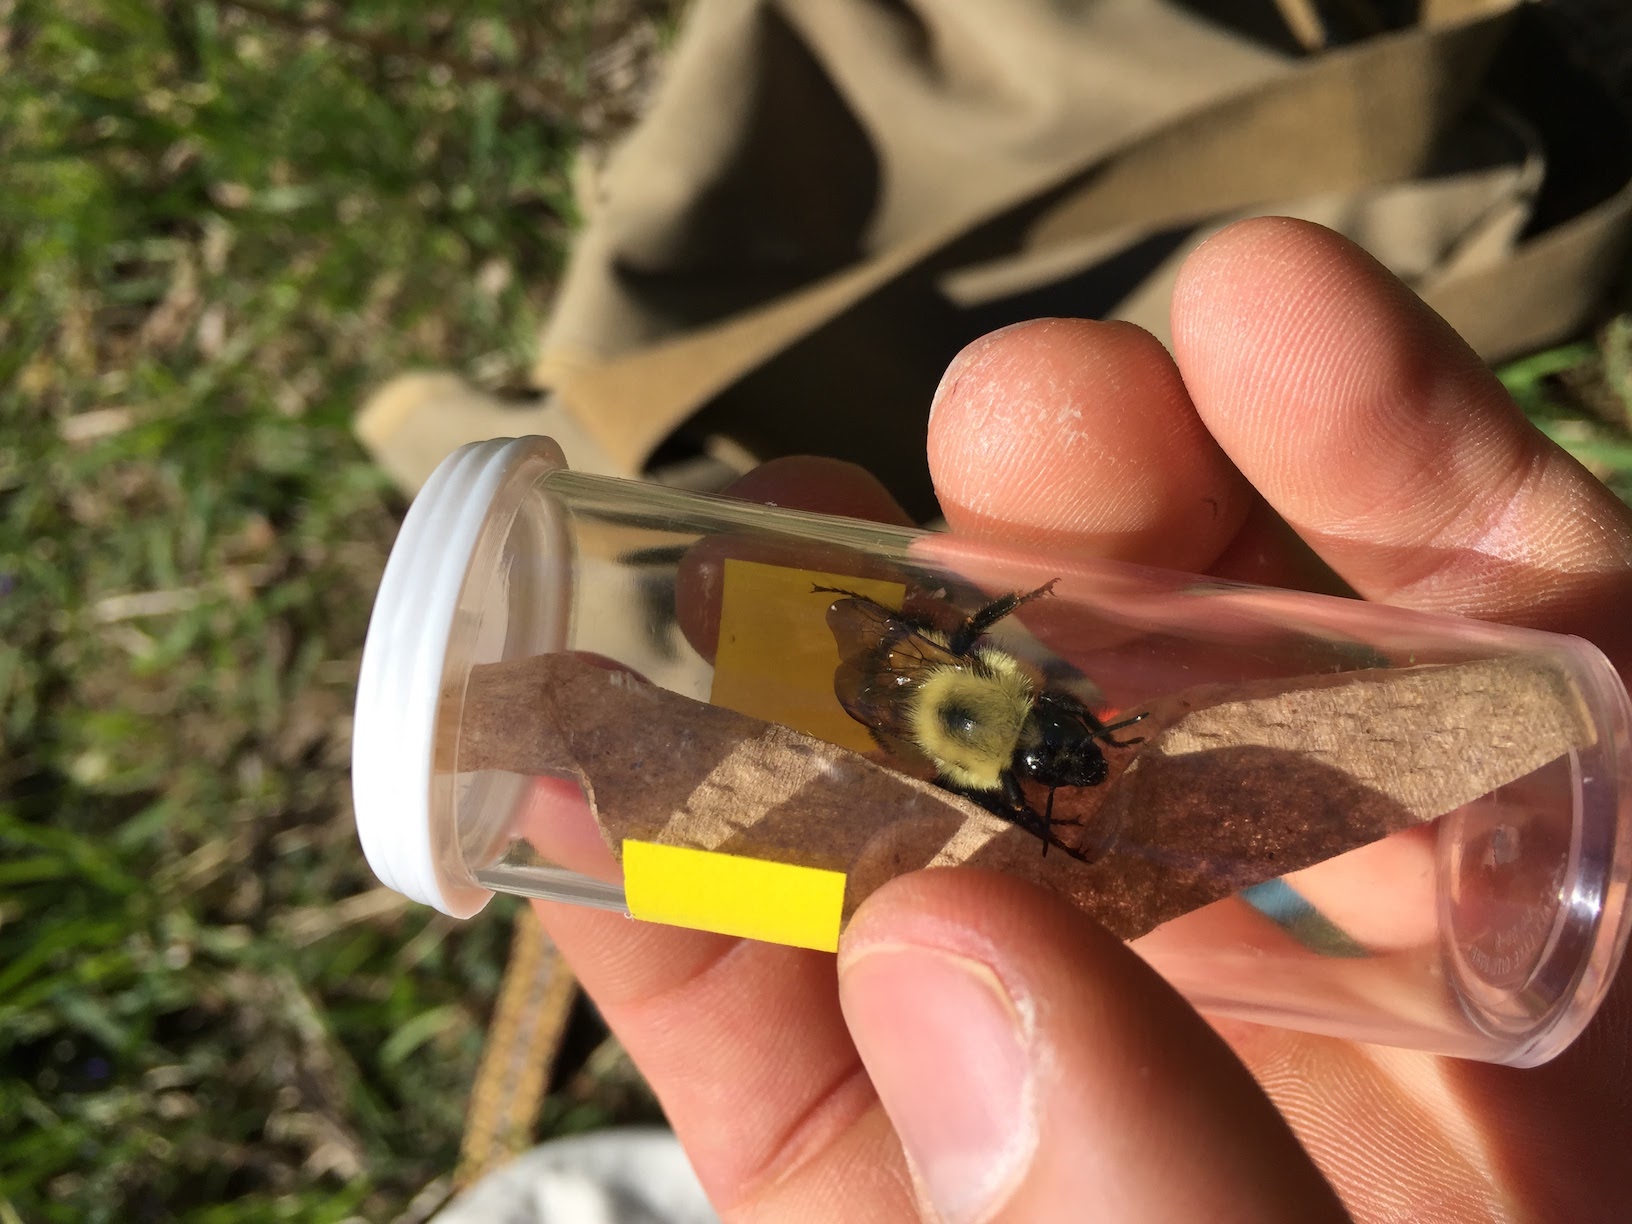
Fig.4: Queen collection vial with an unhappy common eastern bumble bee queen. Air holes in lid and paper towel to control moisture and protect queen from being jostled around.
If you plan on staying in the field to collect for more than an hour before installing, I would bring some dental cotton wicks cut into thirds and pre-soaked in nectar. You can pop these into the vials and they will keep the queen fed during transit. Try not to jostle the containers a lot with wicks in them - it’ll make a royal mess.
Caring for bees
Now that you have bees, this is the most important part of this post! Rearing colonies is a fair amount of work, and it’s important that you provide queens all they need to be happy and cozy - it will increase the chances they’ll start a colony.
Feeding bees
Nectar
Nectar (sugar water) is the primary source of energy for adult bees. They need a lot of it relative to their body size to keep their crazy metabolisms satiated.
You can either mix up a basic simple syrup to give your bees (equal parts water and sugar) or use a commercial nectar formulation (I personally use Prosweet diluted 1:1 with distilled water). The simple syrup tends to spoil more quickly, so you’ll waste more and need to swap it out more frequently.
Mix up a bulk batch so that you have enough for your bees. Also, pre-soak your dental cotton rolls before you use them. This ensures that they’ll wick nectar from the deli cup reservoir better and that air bubbles won’t impede capillary action. I would replace nectar at least every 4-5 days, more often if it looks nasty.
Pollen
Pollen is what is fed to developing larvae. It’s rich in proteins and lipids and, when mixed with a little nectar, is a tasty treat for baby bees.
You can source fresh honey bee pollen from local health food stores, or even Amazon (via Whole Foods). You can also order it from Koppert for $15/pound (way cheaper than health food stores), but pay a lot for shipping. Or, if you have a bee keeper friend with a pollen trap you can source your own! Be sure to keep pollen stored in the freezer.
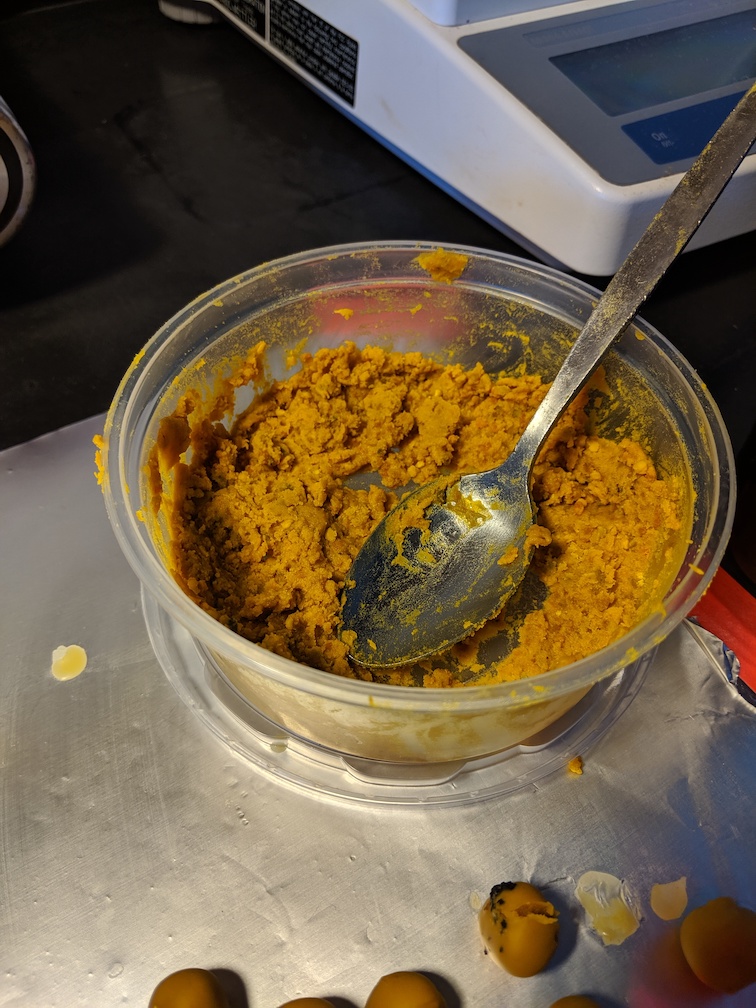
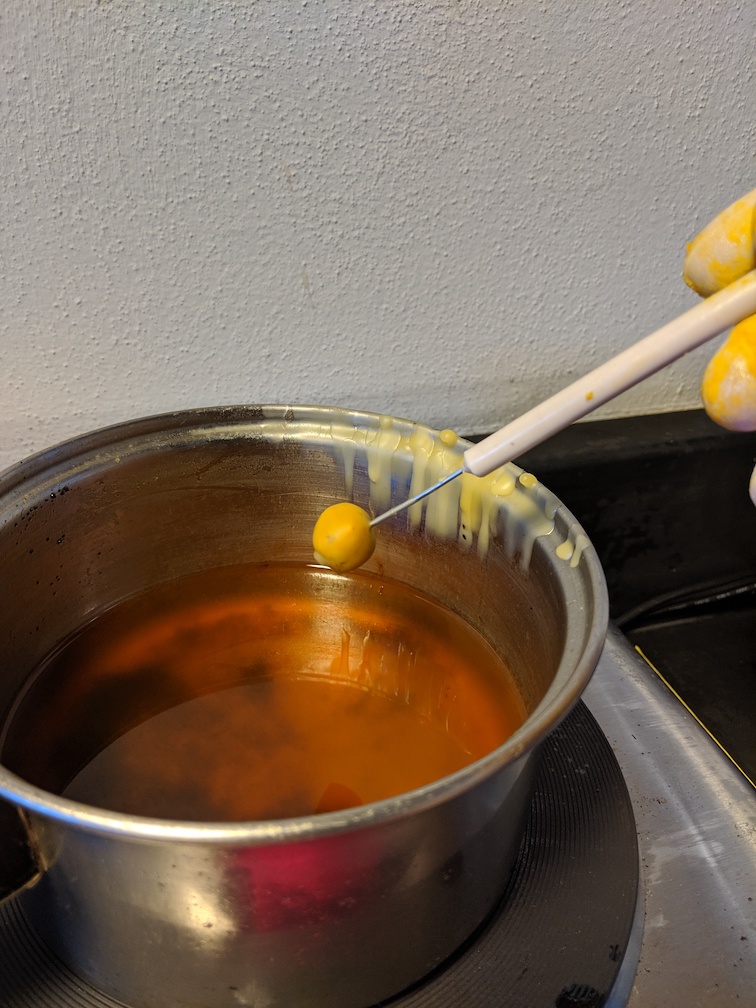
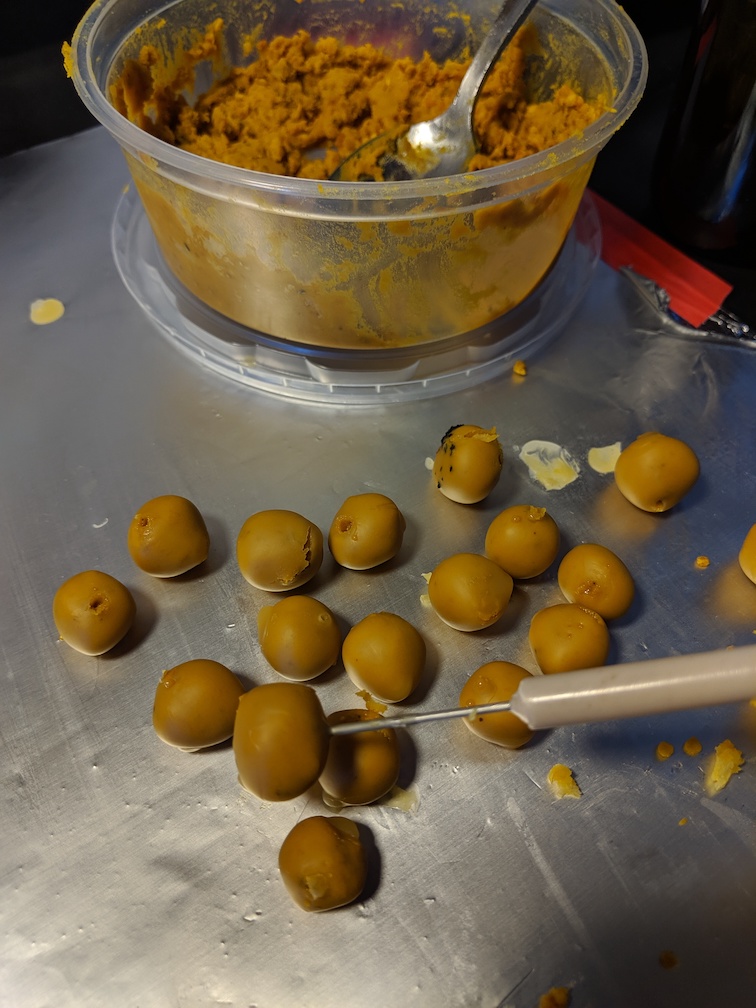
To prep pollen for bees, I mix a large portion of pollen pellets with a little bit of nectar to make a stuff dough. I then take this and roll it into balls the size of a garbanzo bean, and then seal them quickly by dipping them in melted honey bee wax. Sealing them isn’t necessary, but they’ll last longer and the bees seem to like digging through the wax.
Queens will usually lay eggs into the first pollen ball that you give them, so be sure to not replace that one. Once the queen shows evidence of having laid eggs, give her a pea-sized pollen ball every 2-3 days, removing the dried old ones she hasn’t touched.
Laying eggs/incubating
After the queen has been in the starter cage for a couple of days, they hopefully will start to lay eggs and incubate them. If you observe the queen “hugging” the pollen ball you provided, or creating a nectar pot, there’s a good chance that she is about to/has laid eggs. Watch the pollen ball for evidence of a brood clump, and keep giving her fresh pollen every few days.

If any of your queens show no evidence of starting a colony after a week or two (i.e., are just sitting in a corner or trying to escape), it’s best to release them.
First workers
Once the first co-hort of workers emerge, step up how much pollen you are providing the colony. Once the second co-hort emerges, it is probably safe to let them forage freely outside or start your experiments!
That’s pretty much it. Fair warning, rearing bees is far more of an art than a science. You’ll need to be observant and respond to what the bees you have captured are doing and adjust as necessary. Please feel to reach out with questions - I’ll try to help in whatever way I can!
Best of luck! jH
Great resources on rearing:
- Befriending Bumble bees (https://extension.umn.edu/source-magazine/befriending-bumble-bees)
- USDA ARS bumble bee rearing guide (https://www.ars.usda.gov/ARSUserFiles/20800500/BumbleBeeRearingGuide.pdf)
*The effect on human life and families during the coronavirus crisis is tragic and infuriates me. I’m not trying to compare a loss of life and a loss of productivity: our primary concern should be the health and wellbeing of world’s citizens. Do not pursue experiments if they risk the safety of you or those around you. Please stay at home if you can’t effectively mitigate those risks.
**if you are in a region of the country with historical records of rusty-patch bumble bees, it is illegal to handle specimens of this species without a permit from the US Fish and Wildlife Service. This blog post focuses on working with species known to be stable. If you can’t identify these species with certainty, please refrain from collecting.